
Windows Installation
Install using the installation file
OPERATING SYSTEM NOTICE
➤ AnythingLLM is intended to be used on an user account of Windows Home. Other versions of windows (Enterprise or Server) may not work. We target for Windows 11.
1. Download the installer for your hardware
Downloading the installation file
Here is the download link for the latest version of Anything LLM Windows.
Windows 10+ (Home, Professional - x86 64-bit)→Windows 10+ (Home, Professional - ARM 64-bit)→
Installing the application
We do not recommend installing AnythingLLM Desktop for "all users" on a Windows machine. Instead, install for "Current User" only. Installing for all users will cause issues with the app and is not supported.
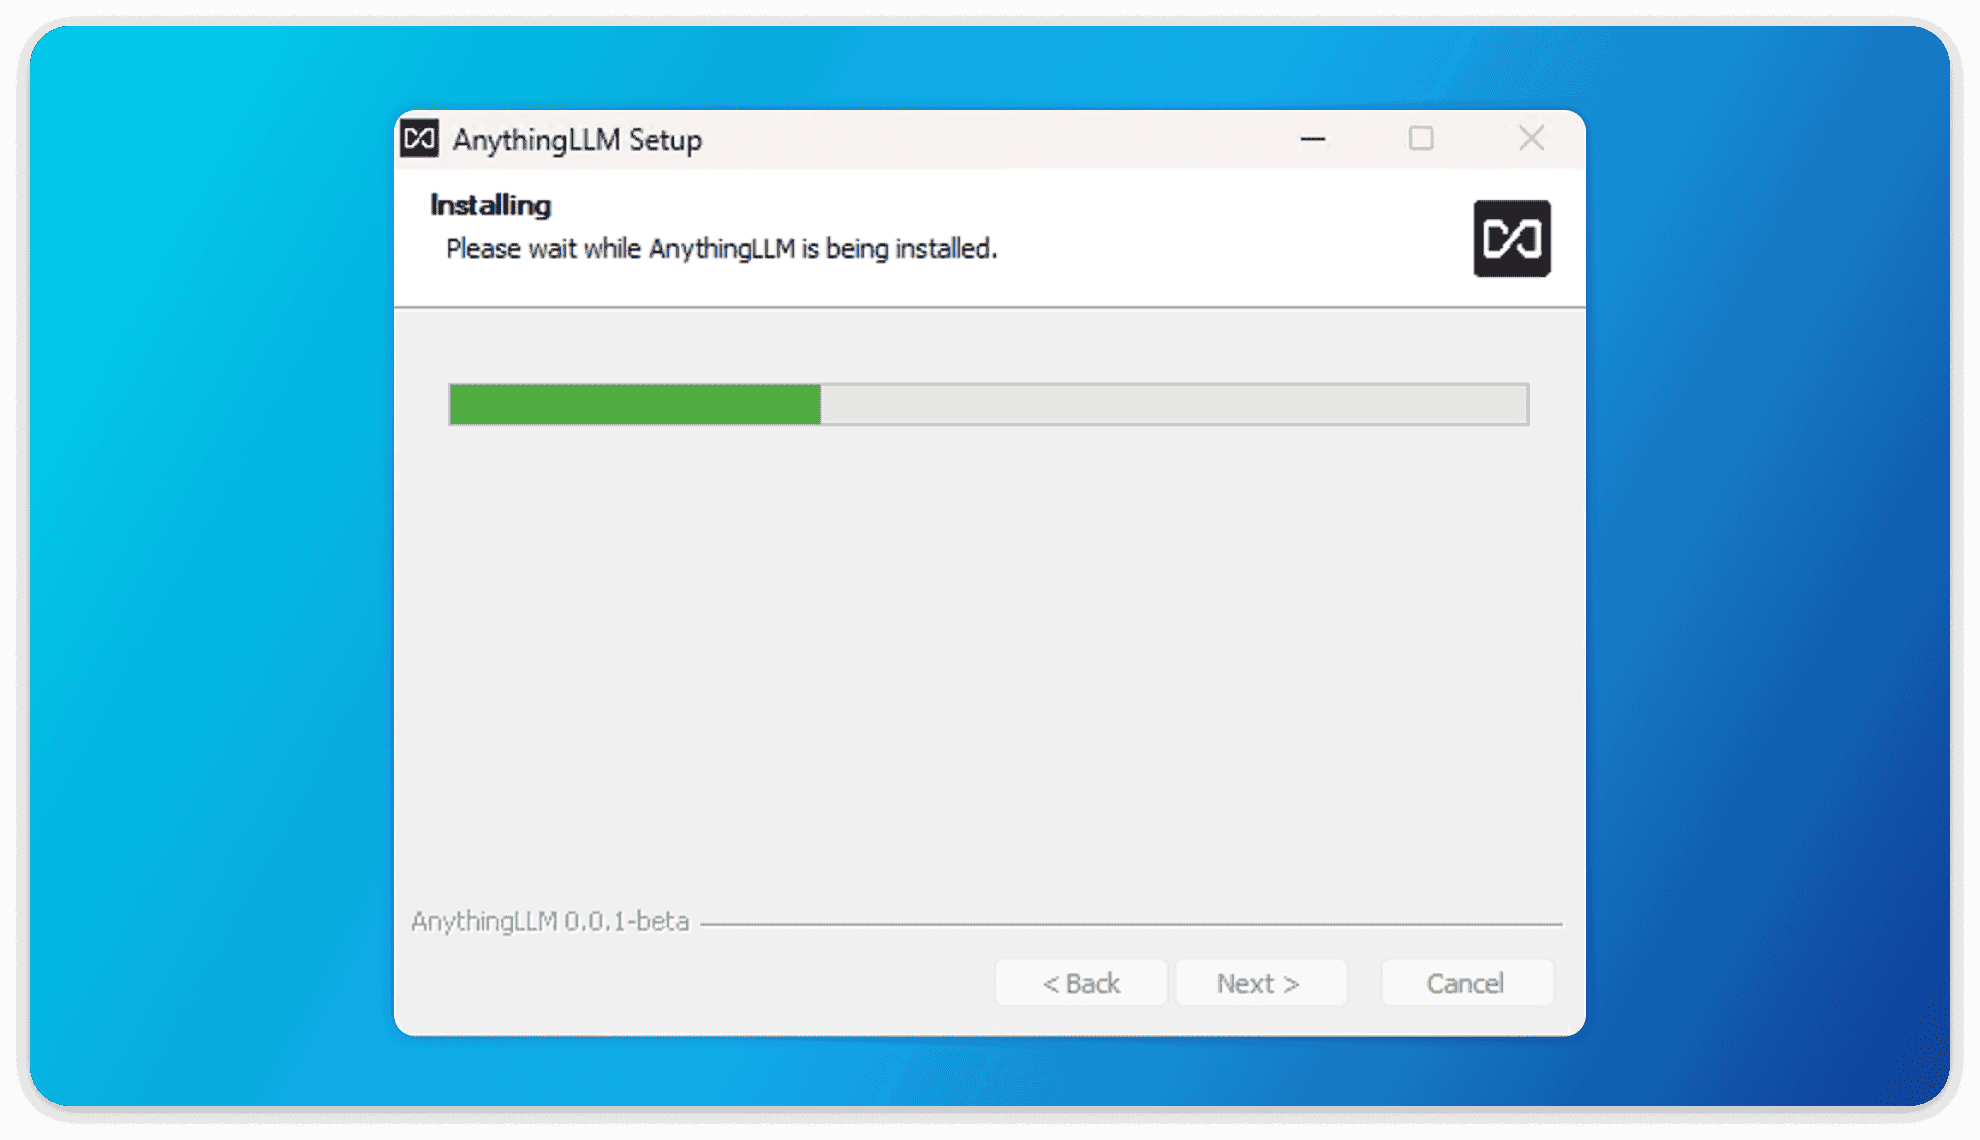
After downloading the windows exe installer for AnythingLLM, you can double-click the installer and it will display the installation process.
After which, now the regular installer can run to install AnythingLLM Desktop!
Local LLM support
➤ AnythingLLM desktop includes a built-in local LLM powered via Ollama (opens in a new tab). This is a super convenient way to get started with LLMs without any additional setup.
In order for AnythingLLM to leverage your GPU (NVIDIA or AMD) or even NPU we need to install some extra dependencies. This will be done automatically during installation.
If these extra dependencies are not installed, you will see a warning in the UI and you will get reduced performance for local LLMs since you will be limited to CPU processing.
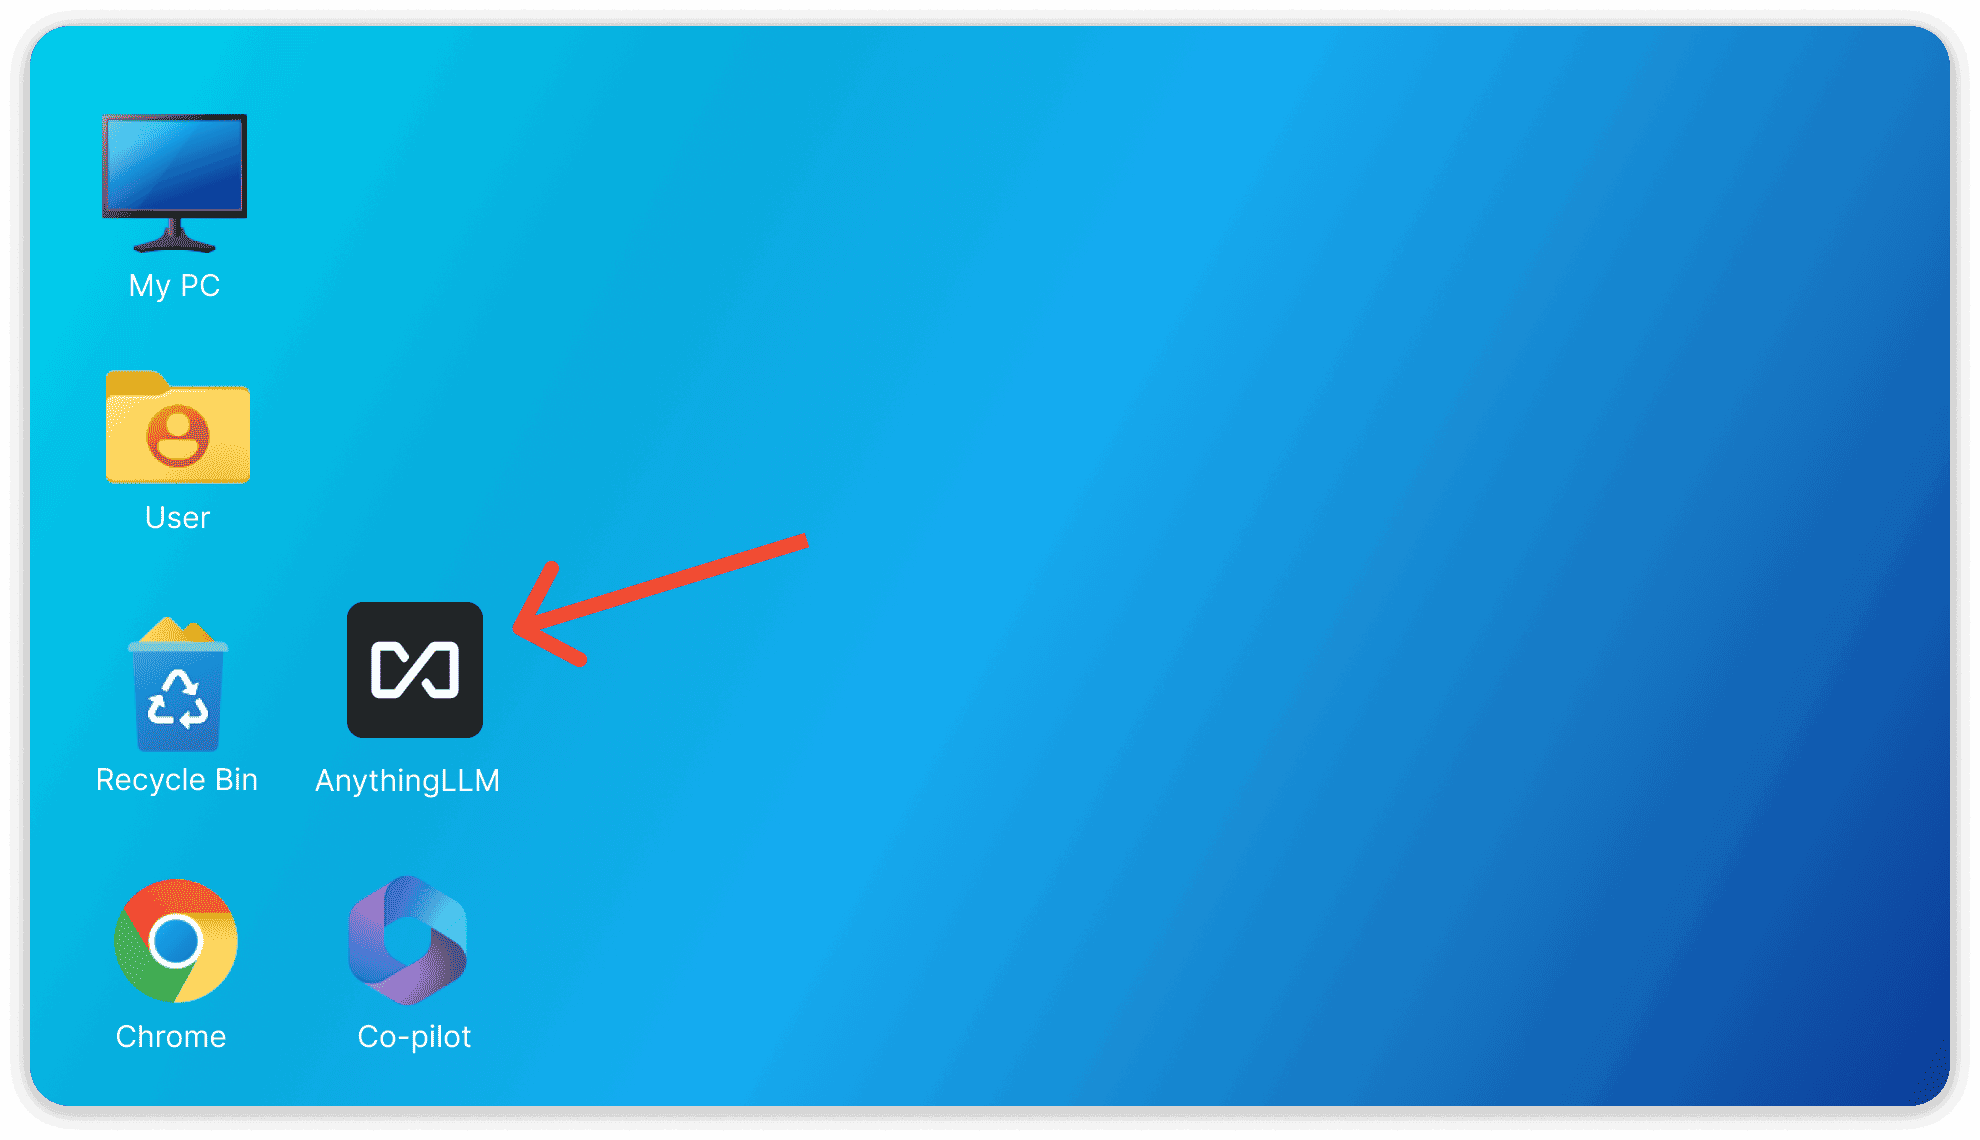
Click on the application name "AnythingLLM" on your desktop to boot up AnythingLLM!
your first boot may take a minute or two to complete on some systems, but subsequent boots will be near instant.
Troubleshooting
"AnythingLLM cannot be closed" when trying to install

If you are trying to install AnythingLLM and you are getting an error that says "AnythingLLM cannot be closed" during installation the following steps will solve your issue.
- You previously installed AnythingLLM and it is still running in the background.
- Since v1.11.0, AnythingLLM minimizes to the system tray when closed. Check your system tray for the AnythingLLM icon and click on it. "Quit AnythingLLM" to close it.
- You can then click on "Retry" and the installation will continue.
- You previously installed AnythingLLM for all users instead of just the current user.
- Prior to v1.11.0, AnythingLLM was allowed to be installed for all users. This is no longer the case - this can cause issues during installation since you must run the installer as administrator to uninstall programs from your primary drive.
- To fix this, you must uninstall AnythingLLM for all users and then reinstall for the current user only. Right- Click on the AnythingLLM Desktop icon and click "Open File Location" to open the installation folder.
- Click on the "Uninstall AnythingLLM.exe" file and run it. You may or may not have to run it as administrator.
- After uninstalling, you can then reinstall for the current user only.
Performing the above steps WILL NOT remove your data or settings. You can do this safely without losing any of your data.
Failed to install/extract GPU support from CDN
If we update to a new version of Ollama, we will update the engine version to the new version. Which again, may fail to install/extract the GPU support file leading to this error again.
You can avoid all of this by just installing AnythingLLM and Ollama separately and then connecting AnythingLLM to your local Ollama instance - which will be automatically detected and less frustrating between updates.
We do not recommend trying to fix this issue manually as it is very prone to user error and would break when we upgrade to later versions of Ollama in AnythingLLM.
During installation, we pull in the vendor specific GPU support from our CDN so that you can leverage your GPU for local LLM inferencing for an optimal experience.
Depending on your network connection, firewall, device settings, or other factors, you may encounter an error during installation or extraction of the GPU support where it fails to download or extract the files. Our CDN is globally accessible, so it is extremely unlikely that the issue is with our CDN.
Before attempting to fix the issue, be sure to check your network connection, firewall, device settings, or other factors that may be blocking the download or extraction of the files. You can relaunch the installer and try again.
If the error contines, open the ollama_install.log file in the %APPDATA%\Local\Programs\AnythingLLM folder and check for any errors but also the version of Ollama that is being installed.
From the ollama_install.log file, you will see the version of Ollama that is being installed. Keep this version number handy for the next steps.
If you encounter this error, you can try the following steps to fix it:
Example:
- If the version of
Ollamathat is being installed is0.13.0, you should download the following files:- https://cdn.anythingllm.com/support/ollama/0.13.0/bins.7z (opens in a new tab)
- https://cdn.anythingllm.com/support/ollama/0.13.0/cudav13.7z (opens in a new tab)
- https://cdn.anythingllm.com/support/ollama/0.13.0/cudav12.7z (opens in a new tab)
- https://cdn.anythingllm.com/support/ollama/0.13.0/rocm_vulkan.7z (opens in a new tab)
- Download the GPU support files manually
- Required base binaries:
https://cdn.anythingllm.com/support/ollama/<version>/bins.7z
if you have an NVIDIA GPU, you can download the CUDA support from the following link:
- Ollama Cudav13:
https://cdn.anythingllm.com/support/ollama/<version>/cudav13.7z - Ollama CUDAv12:
https://cdn.anythingllm.com/support/ollama/<version>/cudav12.7z
if you have an AMD GPU, you can download the ROCm support from the following link:
- Ollama ROCm:
https://cdn.anythingllm.com/support/ollama/<version>/rocm_vulkan.7z
- Extract the
bins.7zfolder
- Open the storage location for AnythingLLM, typically
%APPDATA%\Roaming\anythingllm-desktop\storage\engines\ollama - In this folder you should see
llm.exe - Create and open the following folder:
%APPDATA%\Roaming\anythingllm-desktop\storage\engines\ollama\lib\ollama - Unzip the
bins.7zfile into this folder. - You should now see several DLL files directly in this folder.
- Extract relevant GPU support files
- If you have an NVIDIA GPU, you can extract the
cudav13orcudav12folder into the%APPDATA%\Roaming\anythingllm-desktop\storage\engines\ollama\lib\ollamafolder. - If you have an AMD GPU, you can extract the
rocm_vulkan.7zfile into the%APPDATA%\Roaming\anythingllm-desktop\storage\engines\ollama\lib\ollamafolder.
Your explorer should now look like this:
%APPDATA%\Roaming\anythingllm-desktop\storage\engines\ollama
├── lib
│   └── ollama
│       ├── ggml-base.dll
│       ├── ggml-cpu-**.dll (several DLL files from bins.7z)
│       ├── cudav13/ (if you have an NVIDIA GPU)
│       │   └── cublas64_11.dll (several DLL files from cudav13.7z)
│       ├── cudav12/ (if you have an NVIDIA GPU)
│       │   └── cublas64_11.dll (several DLL files from cudav12.7z)
│       ├── rocm/ (if you have an AMD GPU)
│       │   └── **.dll (files and folders)
│       └── vulkan/ (if you have an AMD GPU)
│           └── vulkan_layer.dll (several DLL files from rocm_vulkan.7z)
└── llm.exe- Create a new dot-file in the
%APPDATA%\Roaming\anythingllm-desktop\storage\engines\ollamafolder called.ollama-version(no extension!) and add the following content:
<version>eg: (0.13.0, 0.12.0, etc.)
- Restart the AnythingLLM desktop app.
- Delete all the 7z files from the
%APPDATA%\Roaming\anythingllm-desktop\storage\engines\ollamafolder as they are no longer needed. - You should now be able to use your GPU for local LLM inferencing.