The below walkthrough is from the Docker version of AnythingLLM, but the desktop version works the exact same way.
Getting Started with Flows
Let's walk through how to access and use the flow builder in AnythingLLM.
Accessing the Flow Builder
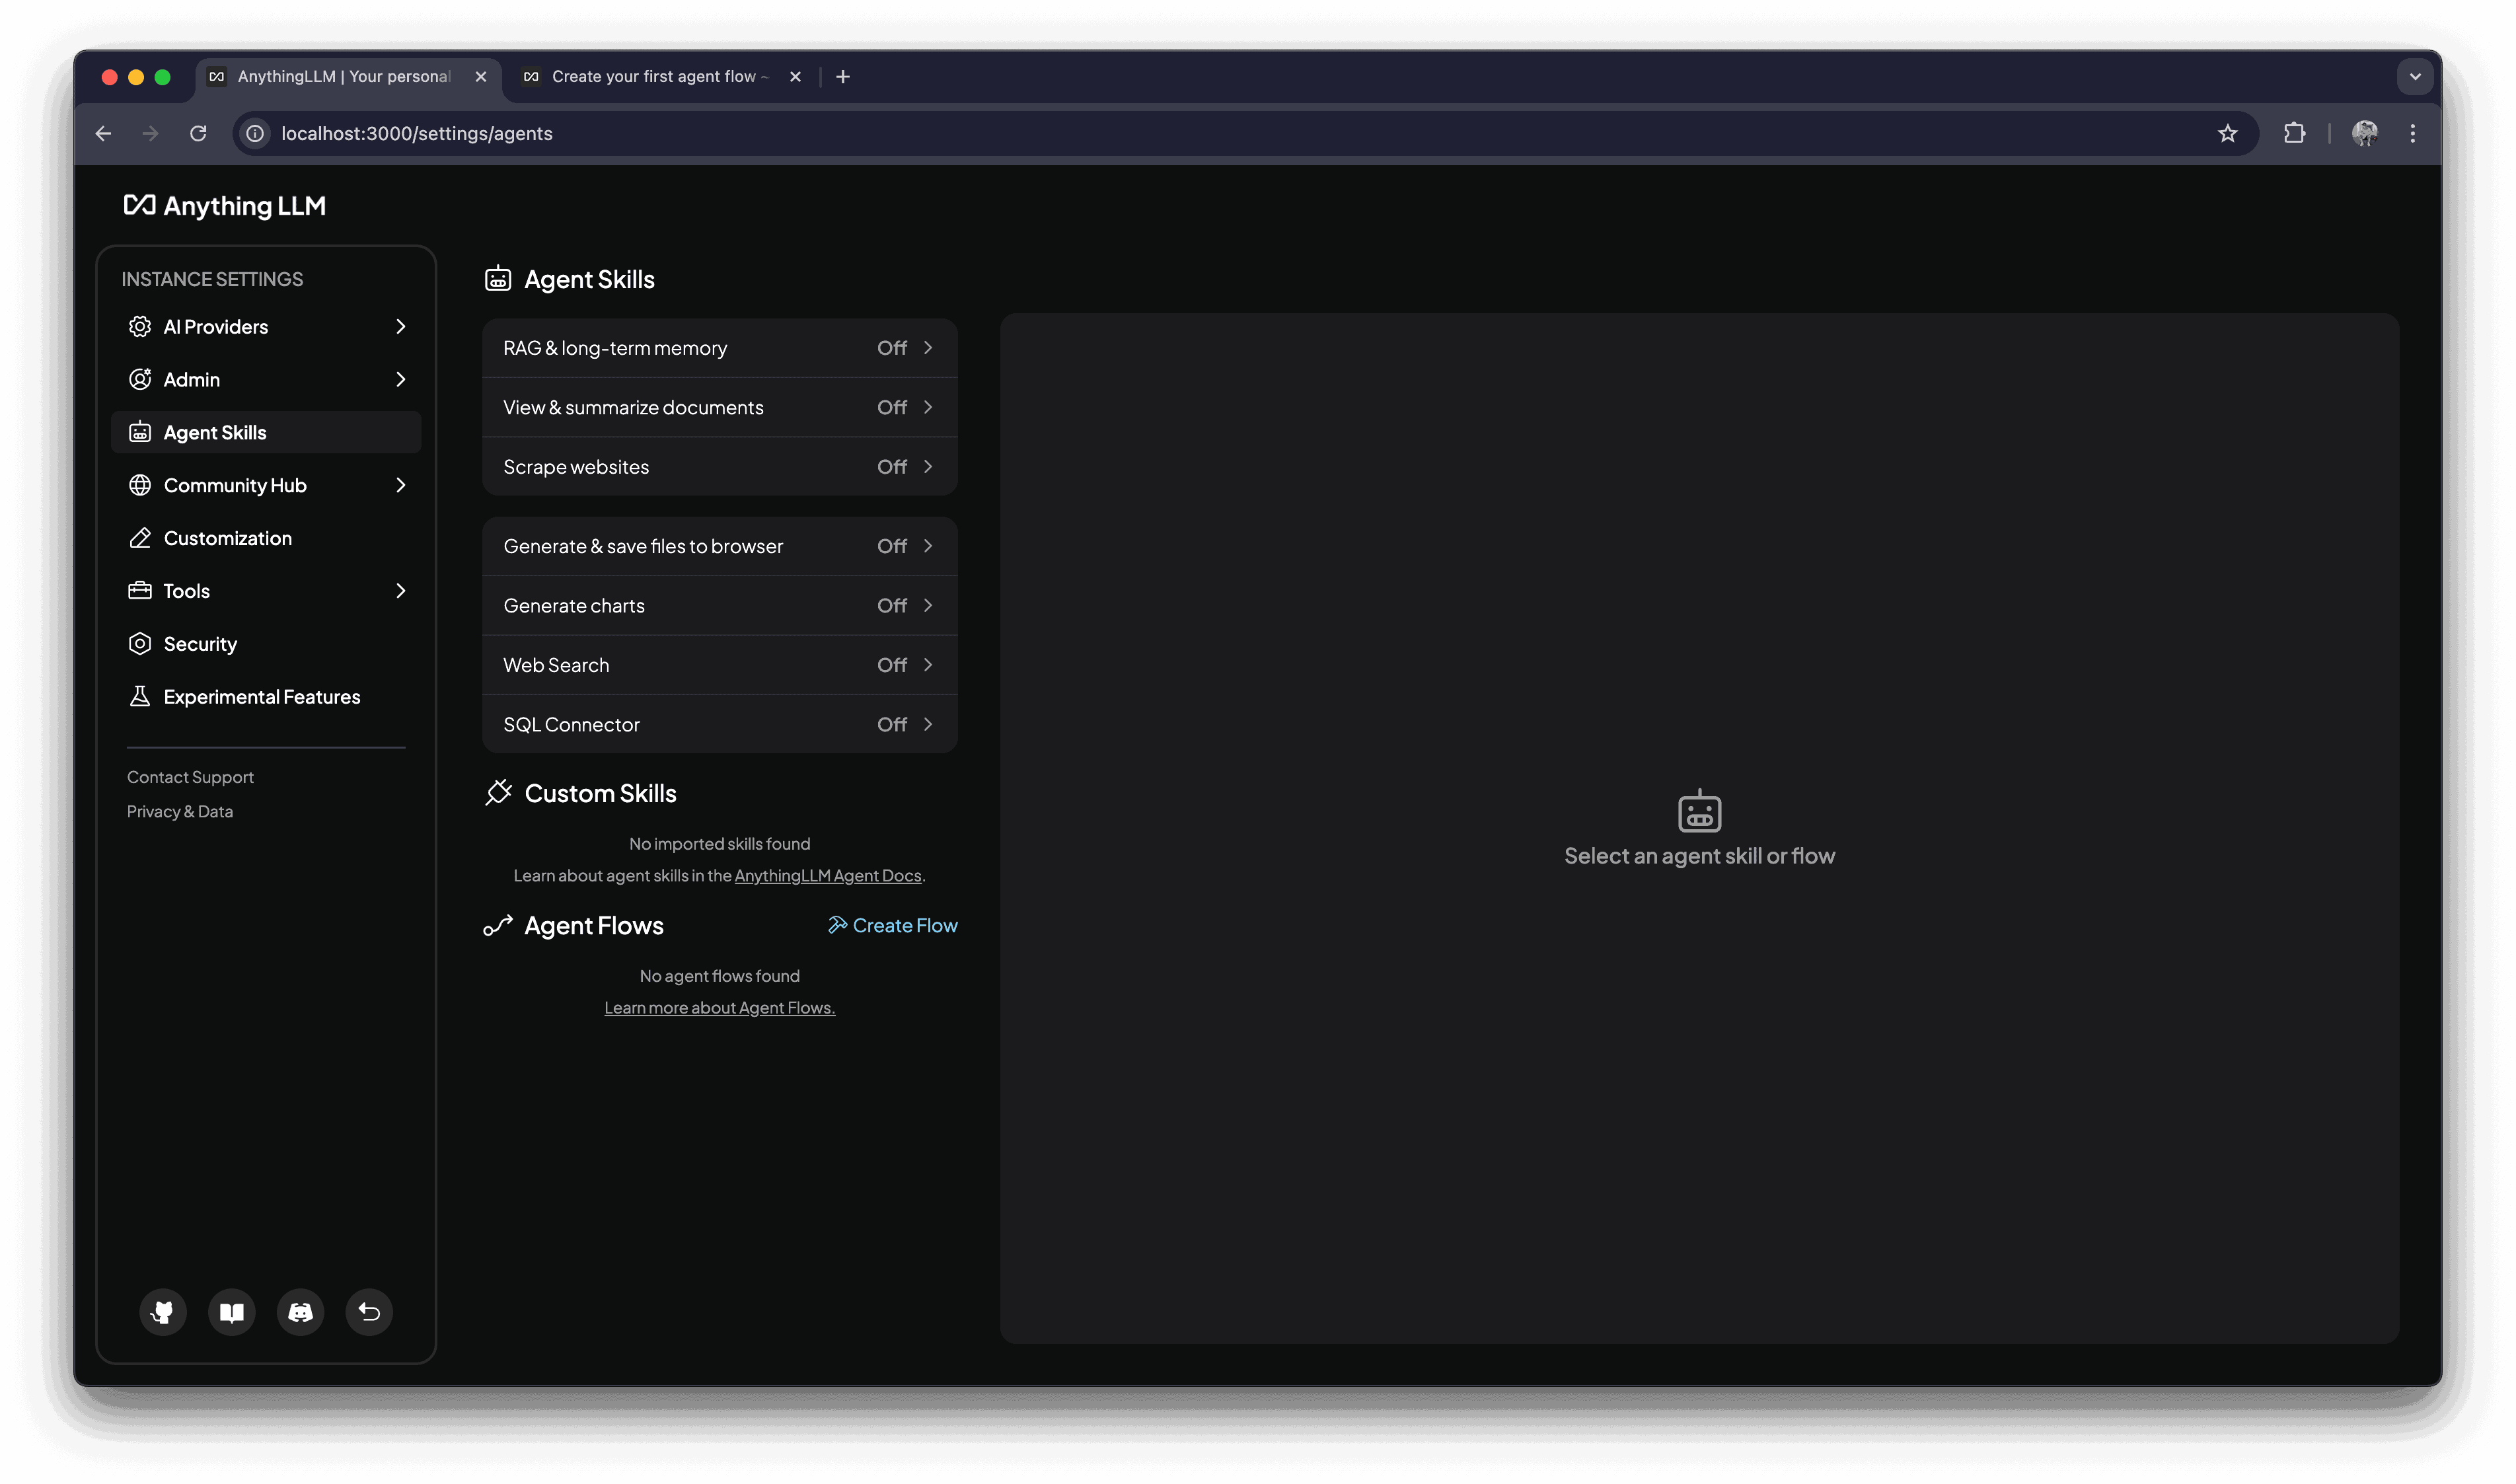
To create a new flow, navigate to your workspace's agent skills page and click the "Create Flow" button. This will open the flow builder with a blank canvas.
Understanding the Canvas
When you first open the flow builder, you'll see a blank canvas with some basic blocks. These are the foundation of every flow:
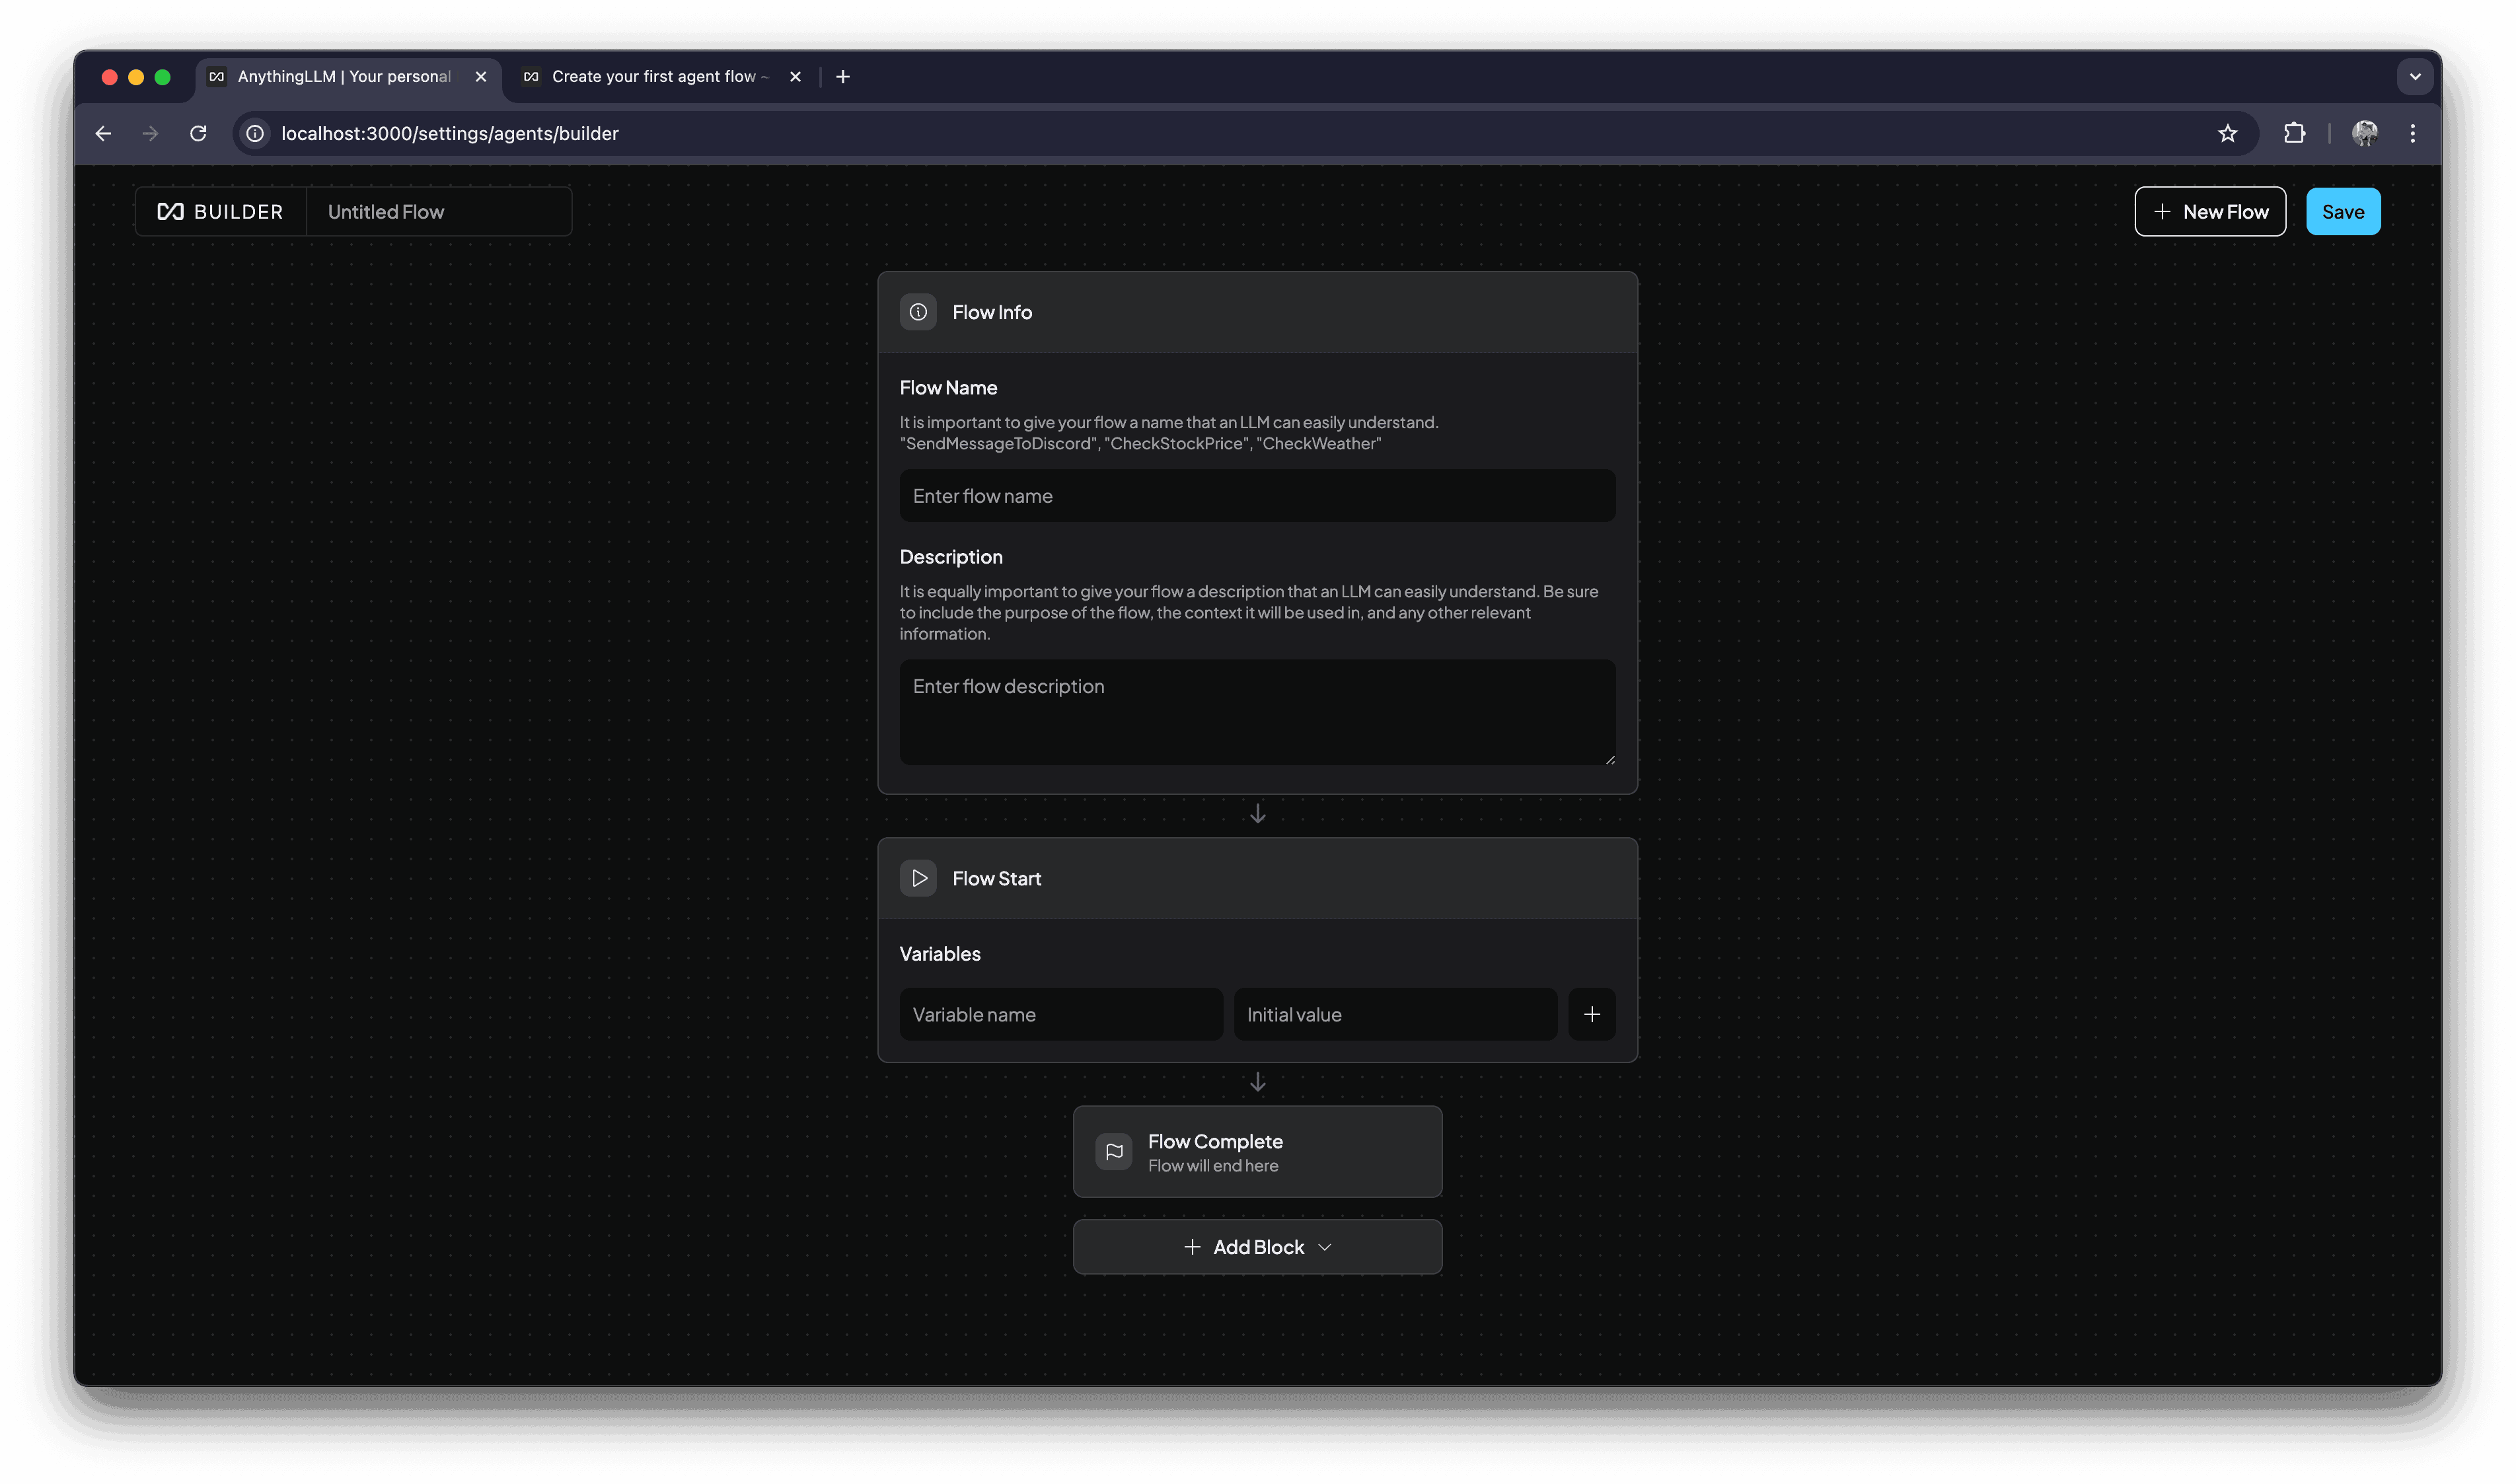
Default Blocks
Every new flow starts with three essential blocks:
-
Flow Information Block - Defines the flow's name and description

-
Flow Variables Block - Sets up any variables needed in your flow

-
Flow Complete Block - Marks the end of your flow

You can learn more about these blocks in the Default Blocks documentation.
Adding New Blocks
To add functionality to your flow, you'll need to add blocks. Click the "Add Block" button between any existing blocks to see available options:
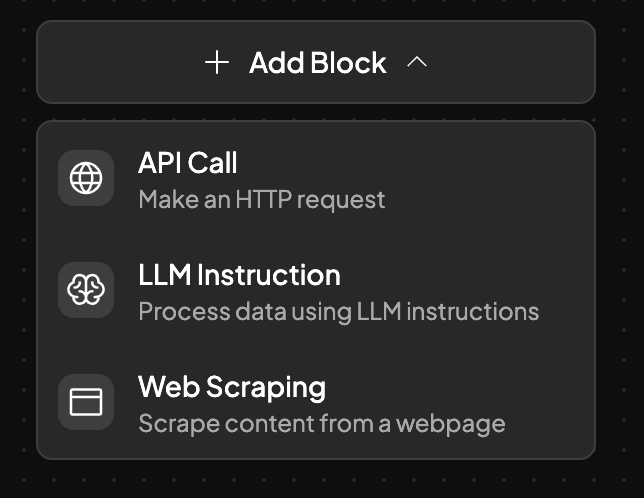
Available blocks will vary depending on your AnythingLLM version. Check the blocks documentation to see which blocks are available in your deployment.
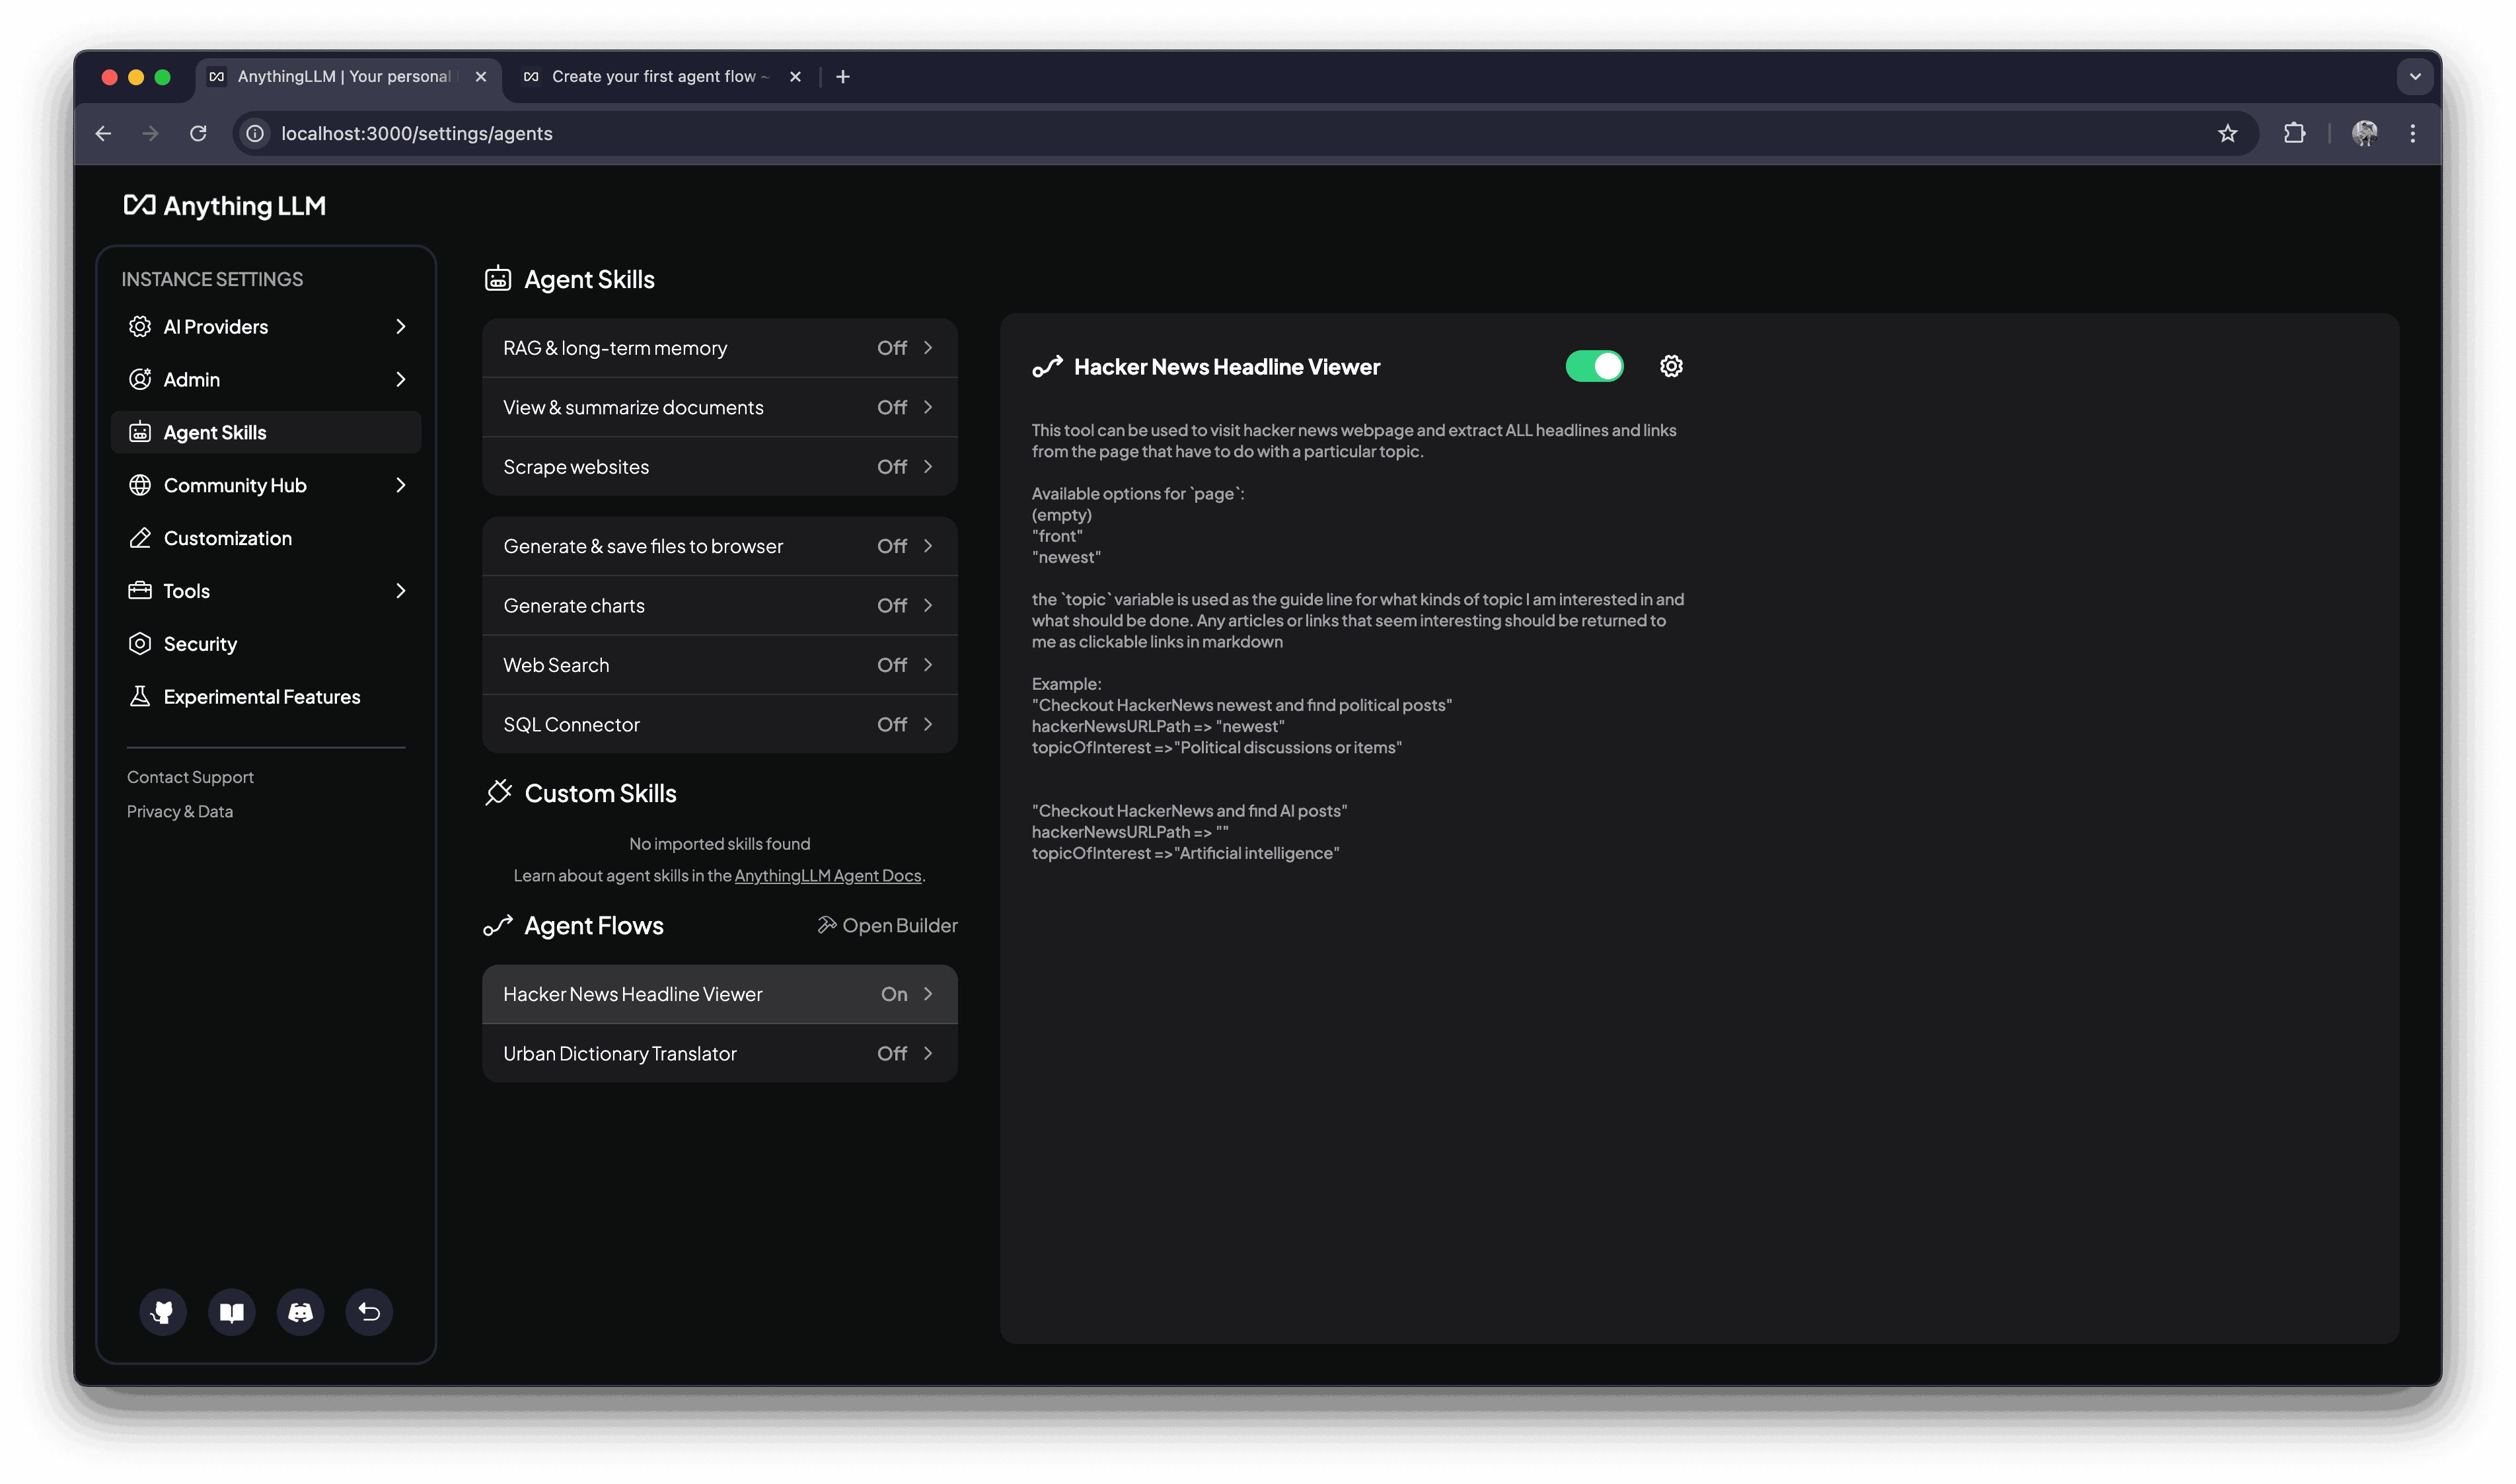
Saving and Managing Flows
- All new flows are automatically saved as "Enabled"
- Click the "Save" button in the top right to save changes
- Access existing flows from the agent skills page
- Click the gear icon on a flow to edit or delete it
Next Steps
Now that you understand the basics of the flow builder, try creating your first flow by following our HackerNews Flow Tutorial!